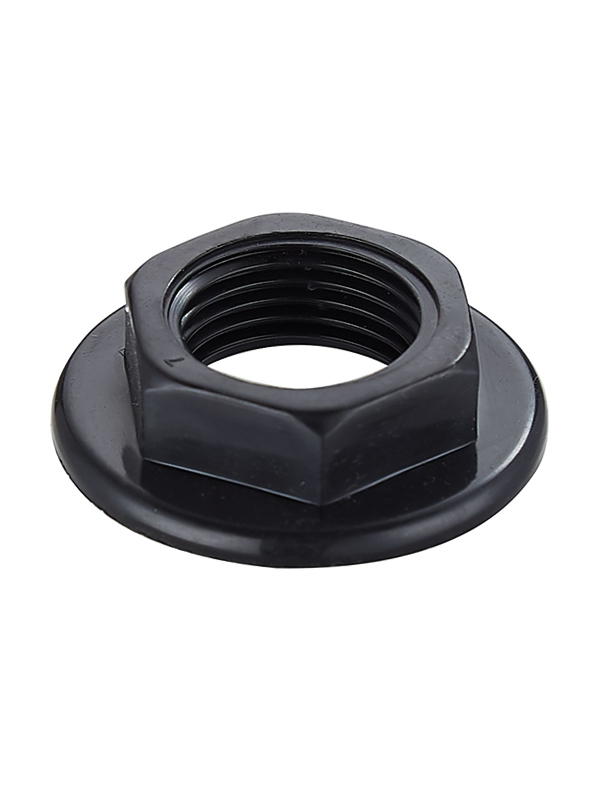
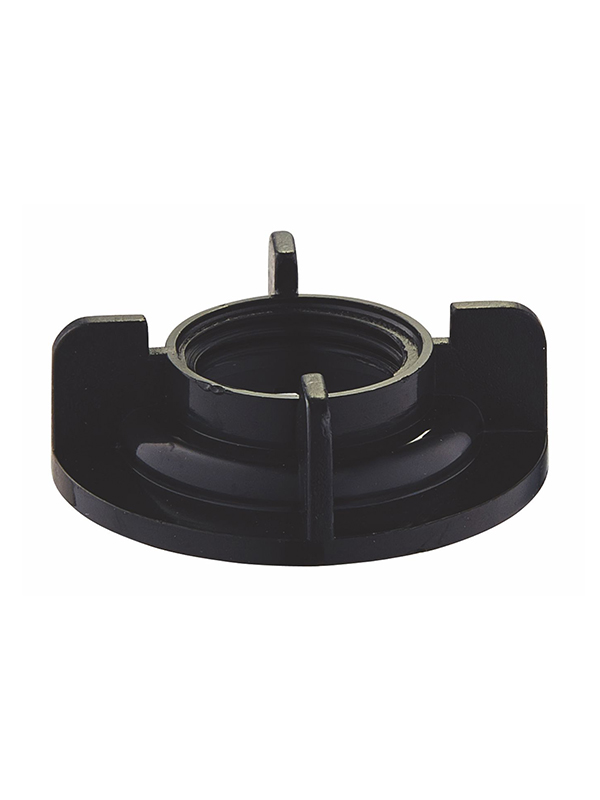
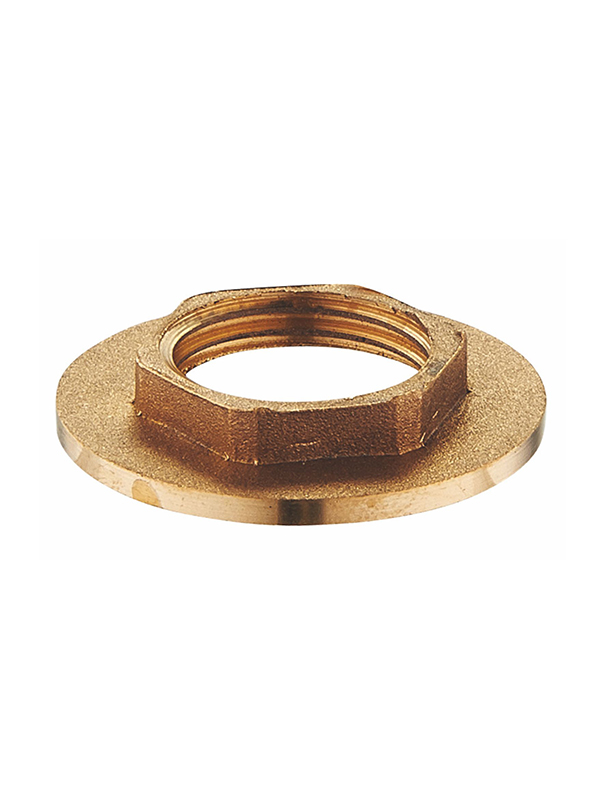
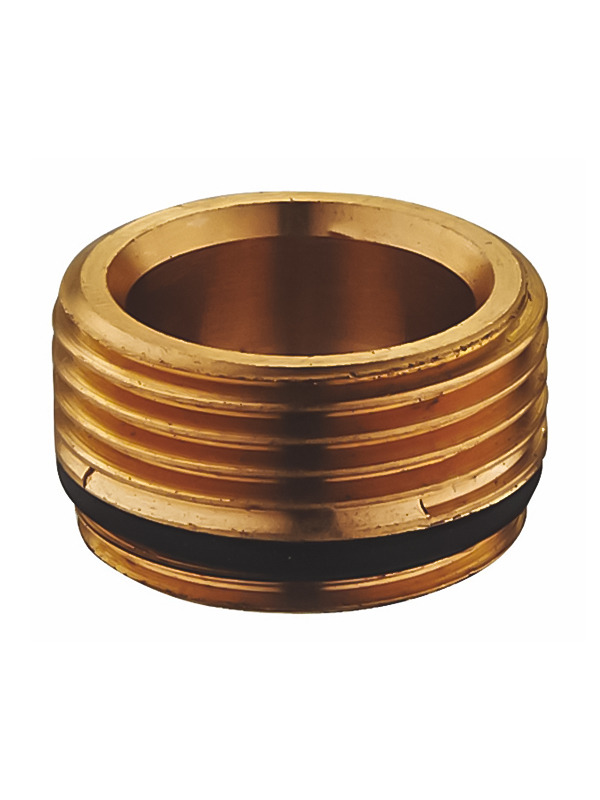
The valve set is held in place by a retainer nut. Remove the retainer nut by unscrewing it with a pair of pliers. You can use a thicker pair of pliers instead of needlenose ones, as they may be easier to grip. Once you have unscrewed the retainer nut, remove the valve set from the wall. Next, you will need to remove the cartridge, which is located inside the valve.
Installing a hand shower drop elbow
A drop elbow is an important fixture that connects a shower system's diverter output to a pipe in the wall. A hand shower hose can be attached to the drop elbow. If you're installing a hand shower faucet in your shower, this fixture is essential. If you don't install one, you may end up with a leaky shower. If you're installing a hand shower, you should learn how to install a drop elbow.
To install a hand shower, attach the flexible hose to the male threaded drop ell. The hose must extend at least 1/2 inch past the wall. Once the hose is attached, thread it on the base of the hand shower sprayer. Wrap the hose with tape or another piece of cloth before tightening the hose. A smooth-jawed wrench is recommended for this step.
Next, install the hand shower drop elbow. The faceplate of the drop elbow should be facing up and the handle should be facing downward. The handle should then be screwed on the cartridge using an Allen key. Once the handle is in place, secure it with the lower hand shower hose by tightening the Hand Shower to Hose (D).
The wall elbow, also known as a drop ell, is a common part of a hand shower hose. While it doesn't come with the hand shower, it can be attached to the existing shower arm. You can find a drop ell in a tub & shower trim kit. It's easy to install and will add instant style to your shower.
The first step is to remove the old mixing valve. You can use the old valve as a guide for the new pieces. Then, cut the pipes to the new height. Don't forget to replace the drop ear elbows as well! The new ones will need to fit into the old pipes. And remember to measure the distance from the old mixing valve to the new shower head.
Cleaning the handle and trim plate of a shower mixer
To clean the trim plate and handle of your wall mounted shower mixer, you need to remove them from the wall. Typically, these parts are secured to the wall by screws or bolts. To remove the screw, you need to unscrew these parts and then wipe them off. To remove any caulk, soak the handles in vinegar or CLR for a few minutes. Be careful not to damage them while cleaning them.
If you've been using a bar soap and cleaning it regularly, you may find that the water is too hard to pour out. In this case, you'll want to use a cleaner that's specially designed for cleaning bathroom faucets. Vinegar is a great option, as it removes soap scum and lime scale from these surfaces. Rinse the bar of soapy water before putting it back in the wall.
Identify the water stop. Water stops are located to the right and left of the valve cartridge. You'll need to shut off both hot and cold water separately and then find the water stop. Often, the stop has flat head screws. Once you have located the water stop, use a utility knife to remove the screws holding the trim plate in place. If the trim plate isn't attached with screws, remove the valve stem and clean it.
To clean the Moen shower valve, turn on the hot water and open the cold side of the valve. Do not touch the hot side of the valve; you don't want to end up getting hot water! Then, use a small piece of tape to catch the water and then tighten the temperature stop. Finally, replace the trim plate with the new one. Once the handle and trim plate are clean, you are ready to use the shower.
Replacing a shower cartridge
The first step in replacing a shower cartridge on a wall mounted mixer is to disassemble the valve. Remove the escutcheon plate and handle from the valve. This will reveal the shower valve. Disassemble the valve and remove the old cartridge from the center. Insert the new cartridge and O-ring. Use pliers to tighten the retaining clip. Replace the valve's outer sleeve and handle. Then turn on the water supply.
To remove a cartridge from a shower valve, use pliers or WD40 to loosen it. If the cartridge is rusted or the entire assembly has come apart, you should contact a professional plumber. Otherwise, you can try replacing the whole assembly yourself. If you have enough experience, you can replace the shower valve yourself. If you're not experienced, you can also use a shower valve removing tool.
There are different types of cartridges available for wall-mounted showers. Single-function models are available with a single-function cartridge, while dual-function models use a thermostatic valve cartridge. Whatever you choose, you can rest assured that it's going to give you a high-quality shower experience. Replacement of a shower cartridge on a wall-mounted shower mixer will save you time, money, and frustration.
If the shower cartridge has ceased to function, you may need to replace the unit. Often, mineral deposits will clog the old cartridge. To remove these deposits, soak the old cartridge in vinegar. Cracks and gouges in the old cartridge are also a sign of a need for replacement. If the cartridge is leaking, replace it as soon as you notice them. It's most likely that one of the O-rings around the body of the cartridge has become worn and is no longer functioning properly.
First, identify the brand and model of the valve. If it doesn't display a manufacturer's logo on the center of the trim plate, it's not a replacement. Check the cartridge part number and identify the manufacturer. You may find a manufacturer's symbol behind the handle on the trim plate. If it doesn't, look for the full name of the company that made it. This will tell you whether the cartridge is made by American Standard or Price Pfister. You can also identify a brand by looking at the length of the cartridge.
Adding a tub spout to a shower system
If you want to add a tub spout to your wall mounted shower mixer, there are a few steps you can take. First, remove the old tub spout by unscrewing it with a large pipe wrench. Then, measure the new tub spout and make sure it fits the same length as the old one. You should also measure the pipe nipple on the new spout so you can purchase the right sized tub spout.
Next, you need to determine the length of the copper pipe coming from the wall. The pipe should be at least 1 inch in length and no longer than 2-7/8 inches. The length of the copper pipe must match the dimensions of the spout. Depending on the brand of the spout you choose, you may have to use an adapter or cut the pipe to fit it properly.
Then, you need to figure out the placement of the spout. You can either buy a new tub spout or a replacement one. Then, you have to decide whether to buy a diverter or non-diverter spout. Before purchasing a new tub spout, determine whether the new one is threaded or slip-on with a setscrew.
When installing a new tub spout, you need to make sure the valve's water pressure is sufficient. Typically, the standard valve is enough to supply water pressure for most configurations, but it is always a good idea to consult a professional if you experience any problems. In addition to providing installation instructions, this article also contains helpful graphics to help you install a tub spout.
To control the flow of water between the shower head and the tub, you need to install a three-way diverter. It's located between the two taps on a two-tap tub faucet. It will direct water to the shower head when engaged, and will also allow you to set the temperature of the water. You can also use the three-way diverter in order to control water temperature.

